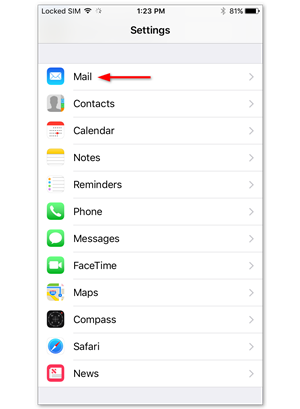
1.Go to Settings > Mail
Open Settings on your iPhone and tap Mail.
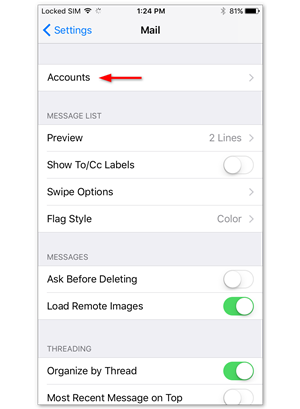
2. Tap Accounts
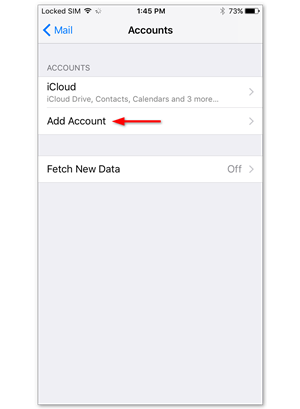
3. Tap Add account
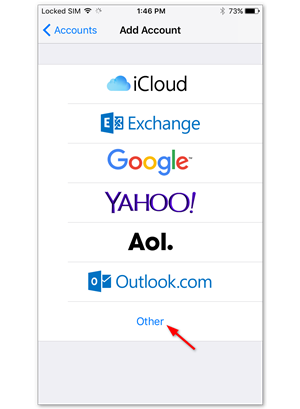
4.Tap Other
Select Other as account type.
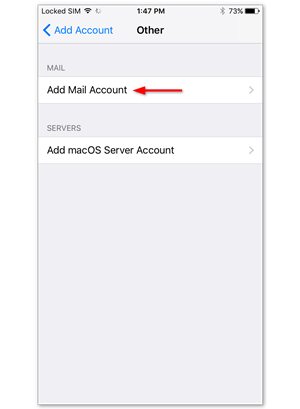
5. Tap Add Mail Account
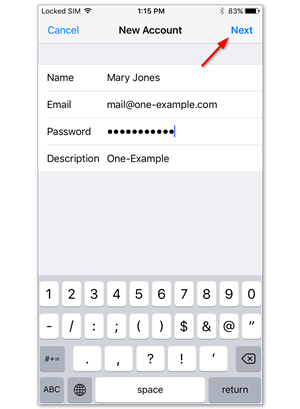
6. Enter your account details
Enter the account details for the email you want to add:
Name: this will be visible as the sender.
Email: the address you want to add.
Password: you use it to log in to Webmail.
Description: a name for the account on your device.
Tap Next to continue.
7. Select POP
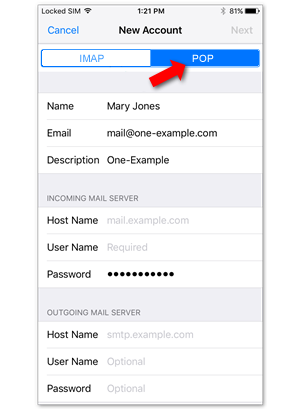
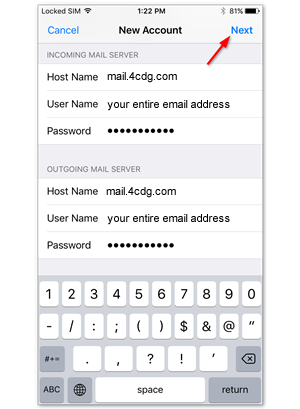
8. Enter your server settings
Incoming Server:
Host Name: mail.4cdg.com
Username: (your full email address)
Password:
Outgoing Server:
Host Name: mail.4cdg.com
Username: (your full email address)
Password:
Tap Next To Continue
9. Save the account
Disable syncing of Notes, if this is enabled. Tap Save.

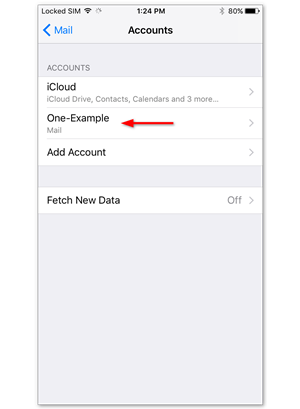
10. Tap the account you added
Tap the account you just added. You can recognize it by the description.
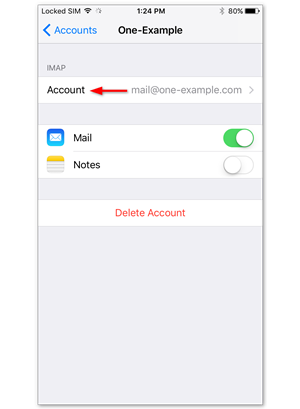
11. Tap your account again
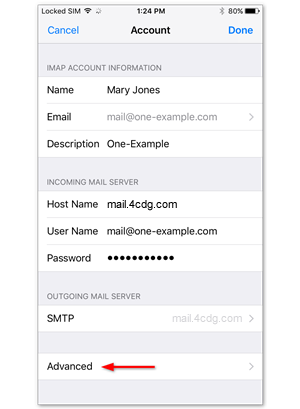
12. Tap Advanced
Tap Advanced, at the bottom of your screen.
13. Tap your account again
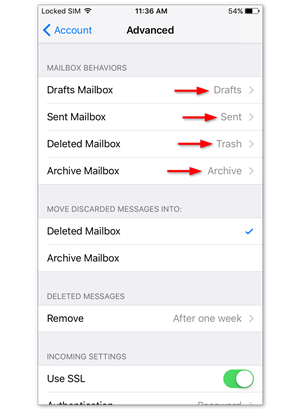
14. Enter POP Path Prefix if requested
Scroll down to the bottom of the screen and enter INBOX as prop path prefix, all in capitals and turn off ssl.

15. Done!
Your account is now set up correctly.